DIY Breeding Cages
Key Takeaways
- Building your own breeding cage can save money and provide a customized habitat.
- Essential materials include wood, mesh, and basic tools.
- Follow safety guidelines to ensure a secure environment for your animals.
- Regular maintenance is crucial for the longevity of your breeding cage.
Creating your own DIY breeding cages is not only a cost-effective solution but also a rewarding project that allows you to customize the habitat to meet the specific needs of your breeding animals. In this guide, we will walk you through the step-by-step process of building various types of breeding cages tailored for different animals.
Why Build Your Own Breeding Cage?
There are several advantages to building your own breeding cages:
- Customization: Tailor the size and features to your specific breeding needs.
- Cost-Effective: Save money compared to purchasing pre-made cages.
- Quality Control: Choose high-quality materials that ensure safety and durability.
Materials Needed
Before you get started, hereâs a list of materials you will need:
| Material | Purpose |
|---|---|
| Wood (plywood or pine) | Structure and frame of the cage |
| Mesh wire | Ventilation and safety |
| Screws | Assemble the cage |
| Hinges | For doors |
| Non-toxic paint/stain | Finishing for aesthetics and protection |
| Tools (saw, drill, screwdriver) | Construction and assembly |
Step-by-Step Instructions
1. Designing Your Cage
Before you begin building, sketch out a design that includes measurements and features you want in your cage.
2. Cutting the Wood
Using your design, measure and cut the wood accordingly. Make sure to wear safety goggles and follow safety guidelines.
3. Assembling the Frame
Start by assembling the frame of the cage using screws to secure the corners. Ensure the structure is sturdy.
4. Attaching the Mesh
Cut the mesh wire to fit the sides of the cage and attach it securely using staples or additional screws.
5. Adding Doors
Decide where you want to place doors for easy access and attach hinges to complete the doors.
6. Finishing Touches
Apply a non-toxic paint or stain to protect the wood and enhance aesthetics. Allow it to dry completely before use.
Maintenance Tips
Regular maintenance is essential for your breeding cage. Here are some tips:
- Clean the cage weekly to prevent odor and disease.
- Inspect the structure regularly for wear and tear.
- Replace any damaged mesh promptly to ensure safety.
Common Types of Breeding Cages
Depending on the type of animal you are breeding, your cage design may vary. Below are some common types:
| Animal Type | Cage Size | Special Features |
|---|---|---|
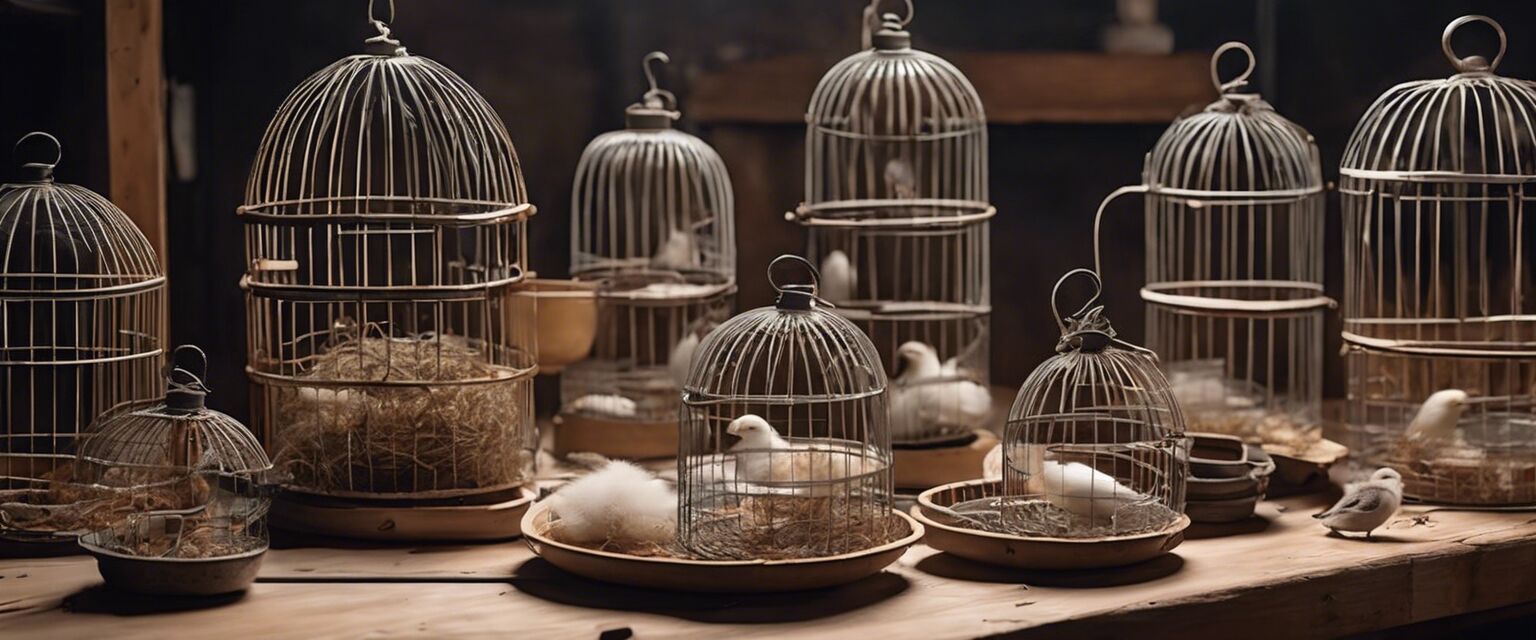
| Birds | 24"x24"x36" | Multiple perches and nesting areas |
| Fish | 20 gallons | Water filtration system |
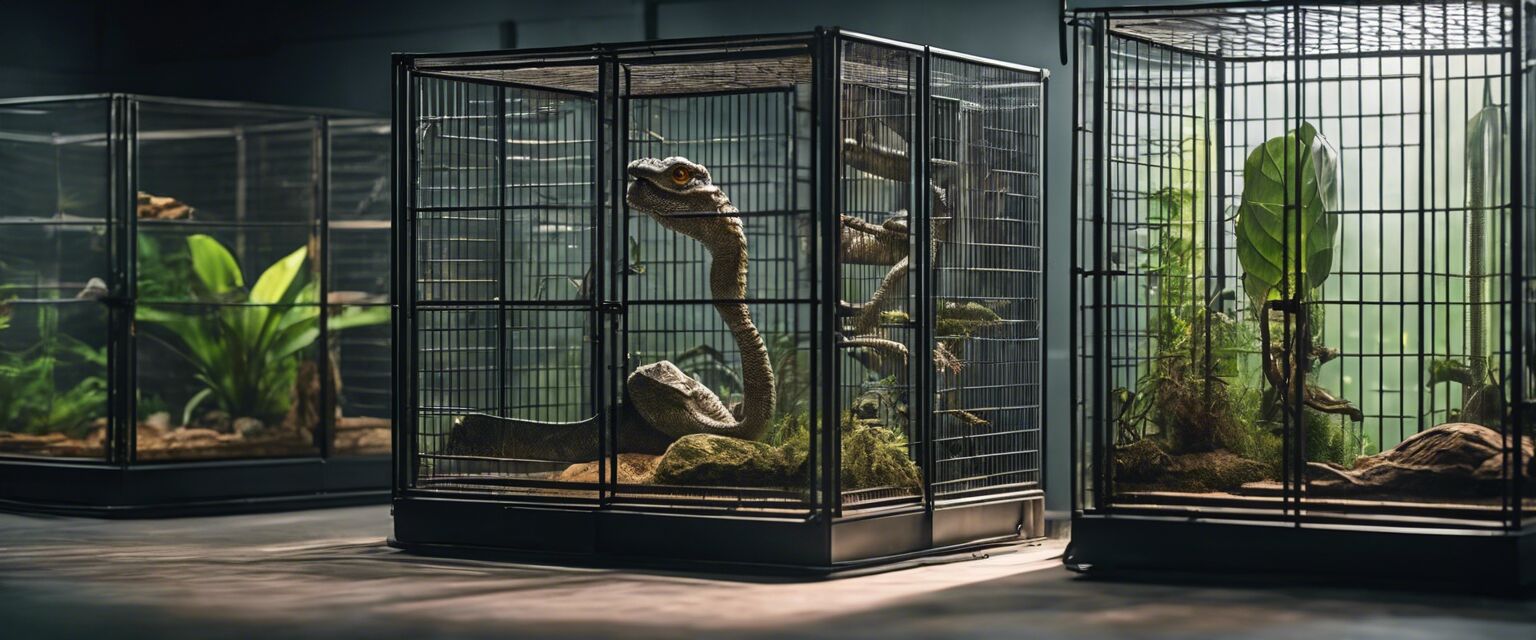
| Reptiles | 48"x24"x24" | Heat lamps and climbing structures |
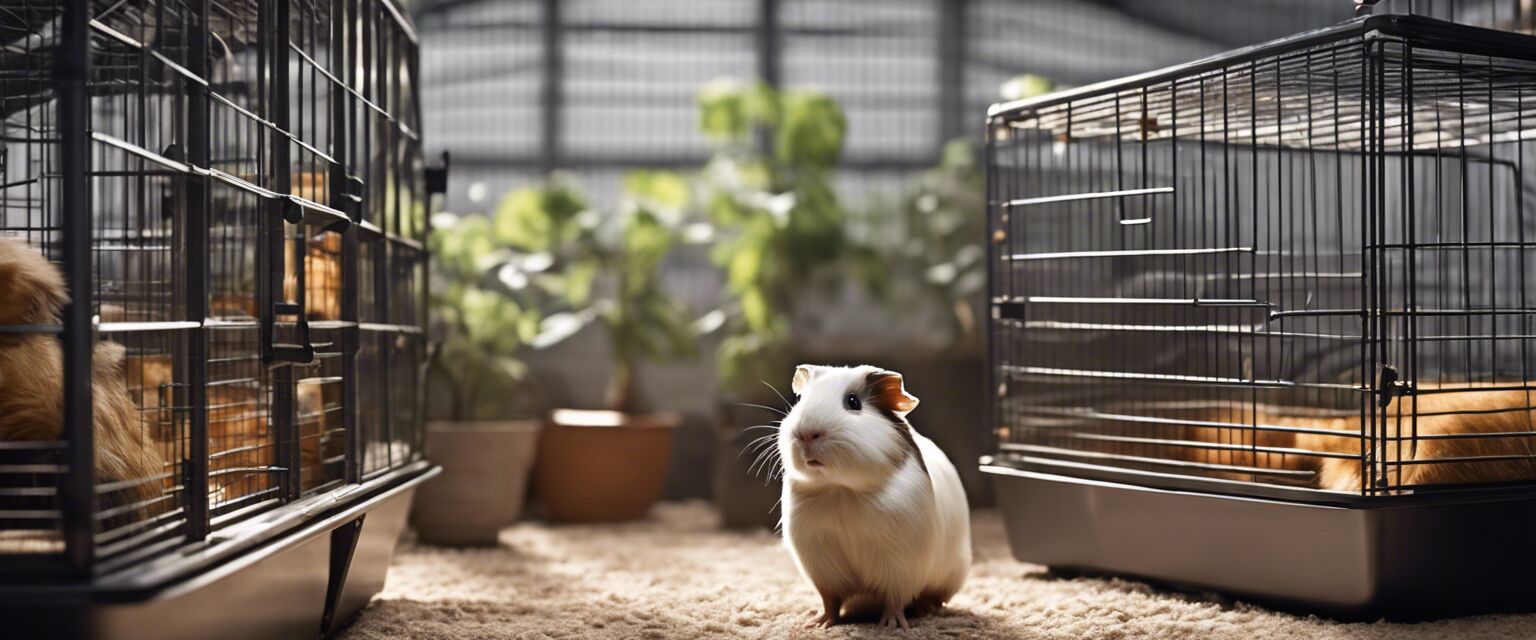
| Small mammals | 30"x18"x18" | Hiding spots and exercise wheels |
Conclusion
Building your own breeding cages can be a fulfilling project that enhances your breeding experience. With the right materials and careful planning, you can create a safe and comfortable environment for your animals.
Tips for Beginners
- Start small and scale up as you gain confidence.
- Research the specific needs of the animals you are breeding.
- Join online forums or local groups for support and advice.
Pros
- Cost-effective compared to buying cages.
- Ability to customize to specific needs.
- Learning experience and skill development.
Cons
- Initial time investment in building.
- Requires basic carpentry skills.
- Potential for design flaws if not planned well.
Explore More
For additional resources and information on breeding habitats, check out our other categories: